> ## Documentation Index
> Fetch the complete documentation index at: https://siliconflow-4a6a0801.mintlify.site/llms.txt
> Use this file to discover all available pages before exploring further.
# Chat2Graph
## About Chat2Graph
[Chat2Graph](https://github.com/TuGraph-family/chat2graph) is a **Graph Native Agentic System** designed to enhance key capabilities of agents—such as reasoning, planning, memory, knowledge, and tool collaboration—by leveraging the symbolic strengths of graph data structures, including relational modeling and interpretability. It also promotes the intelligence of graph databases, lowers the threshold for graph usage, accelerates content generation, and enables natural interaction with graphs. The project aims to deeply integrate graph computing technologies with artificial intelligence.
 ## Get an API Key
1. Visit the [SiliconFlow](https://cloud.siliconflow.cn/) official website and register an account (if already registered, just log in).
2. After registration, go to [API Key](https://cloud.siliconflow.cn/account/ak), create a new API Key, and click to copy it for later use.
## Deploy Chat2Graph
### Download Chat2Graph
```yaml
git clone https://github.com/TuGraph-family/chat2graph.git
```
### Prepare the Runtime Environment
Ensure you have the correct versions of Python and NodeJS:
* **Python**: [Python == 3.10](https://www.python.org/downloads) is recommended.
* **NodeJS**: [NodeJS >= v16](https://nodejs.org/en/download) is recommended.
You can use `conda` or other tools to manage your Python environment:
```yaml
conda create -n chat2graph_env python=3.10
conda activate chat2graph_env
```
### Build Chat2Graph
Run the build script:
```yaml
cd chat2graph
./bin/build.sh
```
### Configure SiliconFlow Model
Prepare the .env configuration file:
```yaml
cp .env.template .env
vim .env
```
Fill in your SiliconFlow model configuration:
```yaml
# SiliconFlow 模型配置
LLM_NAME=deepseek-ai/DeepSeek-V3
LLM_ENDPOINT=https://api.siliconflow.cn/v1
LLM_APIKEY={your-siliconflow-api-key}
```
### Start Chat2Graph
Run the startup script:
```yaml
./bin/start.sh
```
When you see the following log, Chat2Graph has started successfully:
```latex
Starting server...
Web resources location: /Users/florian/code/chat2graph/app/server/web
System database url: sqlite:////Users/florian/.chat2graph/system/chat2graph.db
Loading AgenticService from app/core/sdk/chat2graph.yml with encoding utf-8
Init application: Chat2Graph
Init the Leader agent
Init the Expert agents
____ _ _ ____ ____ _
/ ___| |__ __ _| |_|___ \ / ___|_ __ __ _ _ __ | |__
| | | '_ \ / _` | __| __) | | _| '__/ _` | '_ \| '_ \
| |___| | | | (_| | |_ / __/| |_| | | | (_| | |_) | | | |
\____|_| |_|\__,_|\__|_____|\____|_| \__,_| .__/|_| |_|
|_|
* Serving Flask app 'bootstrap'
* Debug mode: off
WARNING: This is a development server. Do not use it in a production deployment. Use a production WSGI server instead.
* Running on all addresses (0.0.0.0)
* Running on http://127.0.0.1:5010
* Running on http://192.168.1.1:5010
Chat2Graph server started success !
```
## Use Chat2Graph
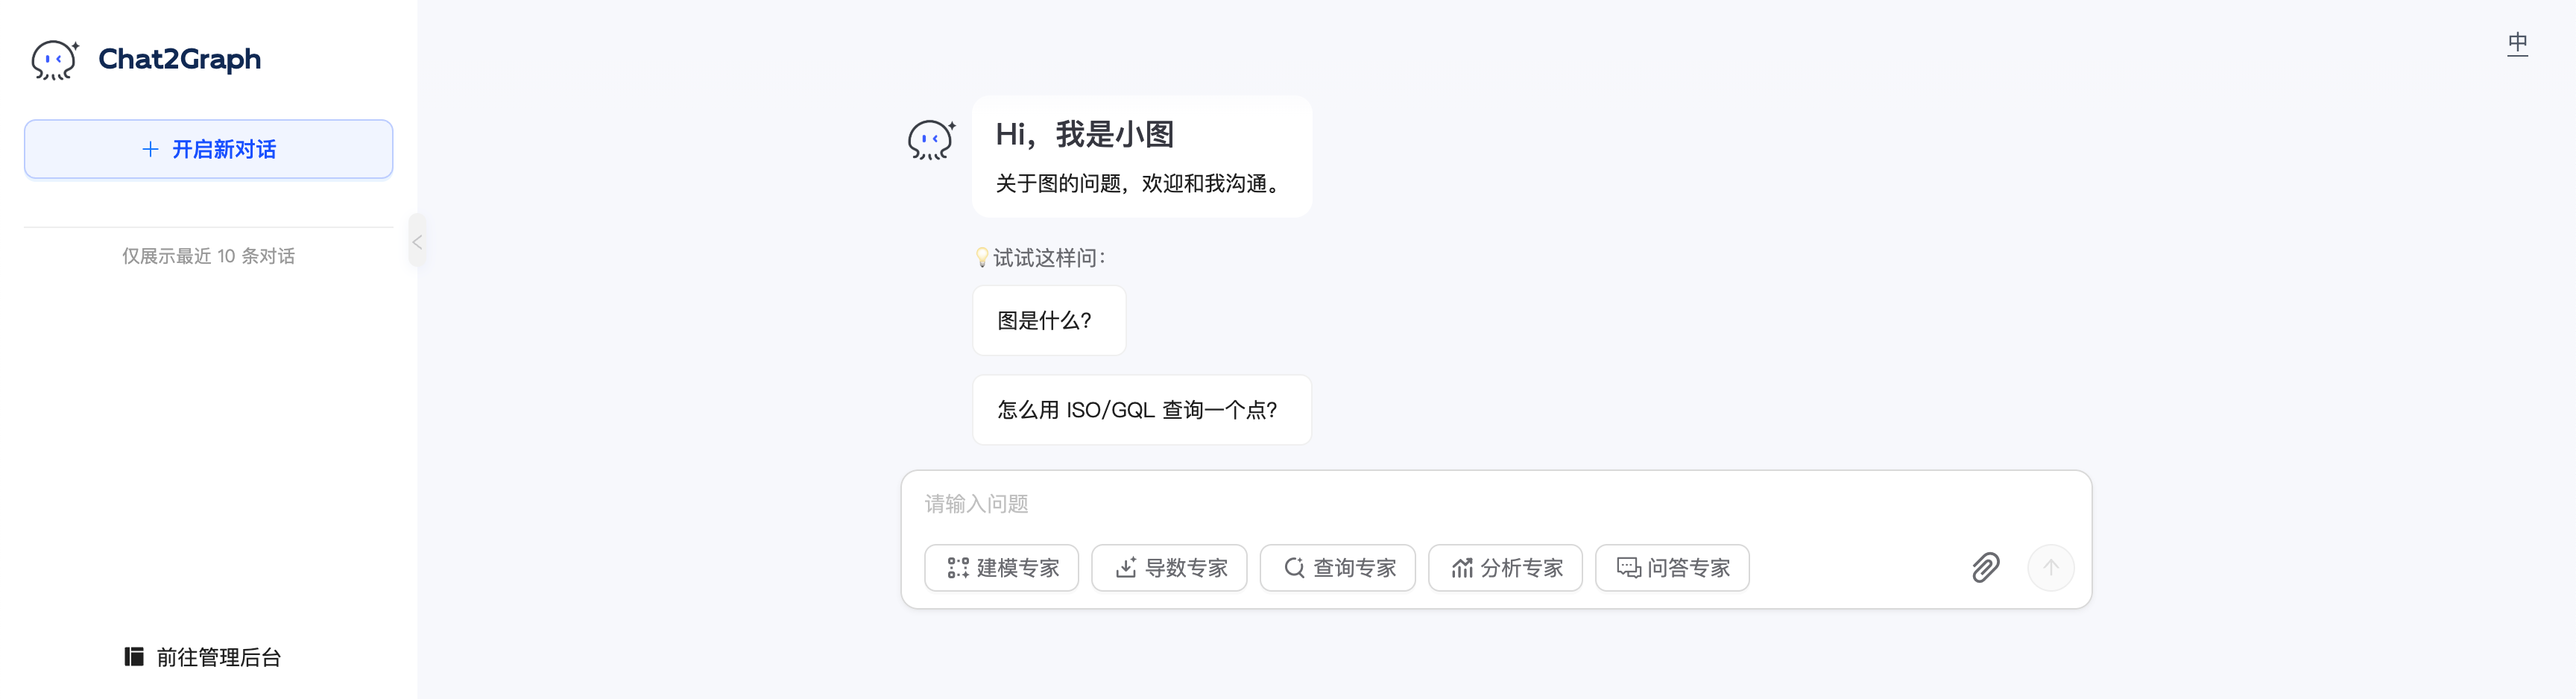
Open your browser and visit [http://localhost:5010/](http://localhost:5010/) to start using Chat2Graph.
## Get an API Key
1. Visit the [SiliconFlow](https://cloud.siliconflow.cn/) official website and register an account (if already registered, just log in).
2. After registration, go to [API Key](https://cloud.siliconflow.cn/account/ak), create a new API Key, and click to copy it for later use.
## Deploy Chat2Graph
### Download Chat2Graph
```yaml
git clone https://github.com/TuGraph-family/chat2graph.git
```
### Prepare the Runtime Environment
Ensure you have the correct versions of Python and NodeJS:
* **Python**: [Python == 3.10](https://www.python.org/downloads) is recommended.
* **NodeJS**: [NodeJS >= v16](https://nodejs.org/en/download) is recommended.
You can use `conda` or other tools to manage your Python environment:
```yaml
conda create -n chat2graph_env python=3.10
conda activate chat2graph_env
```
### Build Chat2Graph
Run the build script:
```yaml
cd chat2graph
./bin/build.sh
```
### Configure SiliconFlow Model
Prepare the .env configuration file:
```yaml
cp .env.template .env
vim .env
```
Fill in your SiliconFlow model configuration:
```yaml
# SiliconFlow 模型配置
LLM_NAME=deepseek-ai/DeepSeek-V3
LLM_ENDPOINT=https://api.siliconflow.cn/v1
LLM_APIKEY={your-siliconflow-api-key}
```
### Start Chat2Graph
Run the startup script:
```yaml
./bin/start.sh
```
When you see the following log, Chat2Graph has started successfully:
```latex
Starting server...
Web resources location: /Users/florian/code/chat2graph/app/server/web
System database url: sqlite:////Users/florian/.chat2graph/system/chat2graph.db
Loading AgenticService from app/core/sdk/chat2graph.yml with encoding utf-8
Init application: Chat2Graph
Init the Leader agent
Init the Expert agents
____ _ _ ____ ____ _
/ ___| |__ __ _| |_|___ \ / ___|_ __ __ _ _ __ | |__
| | | '_ \ / _` | __| __) | | _| '__/ _` | '_ \| '_ \
| |___| | | | (_| | |_ / __/| |_| | | | (_| | |_) | | | |
\____|_| |_|\__,_|\__|_____|\____|_| \__,_| .__/|_| |_|
|_|
* Serving Flask app 'bootstrap'
* Debug mode: off
WARNING: This is a development server. Do not use it in a production deployment. Use a production WSGI server instead.
* Running on all addresses (0.0.0.0)
* Running on http://127.0.0.1:5010
* Running on http://192.168.1.1:5010
Chat2Graph server started success !
```
## Use Chat2Graph
Open your browser and visit [http://localhost:5010/](http://localhost:5010/) to start using Chat2Graph.
 ### Register a Graph Database
To experience the full “chat with graph” capability, register a graph database instance in advance. Currently supported databases include [Neo4j](https://neo4j.com/) and [TuGraph](https://tugraph.tech/).
### Register a Graph Database
To experience the full “chat with graph” capability, register a graph database instance in advance. Currently supported databases include [Neo4j](https://neo4j.com/) and [TuGraph](https://tugraph.tech/).
 Start a Neo4j instance:
```plain
docker pull neo4j:latest
docker run -d -p 7474:7474 -p 7687:7687 --name neo4j-server --env NEO4J_AUTH=none \
--env NEO4J_PLUGINS='["apoc", "graph-data-science"]' neo4j:latest
```
Start a TuGraph instance:
```latex
docker pull tugraph/tugraph-runtime-centos7:4.5.1
docker run -d -p 7070:7070 -p 7687:7687 -p 9090:9090 --name tugraph-server \
tugraph/tugraph-runtime-centos7:latest lgraph_server -d run --enable_plugin true
```
### Chat Easily with Graphs
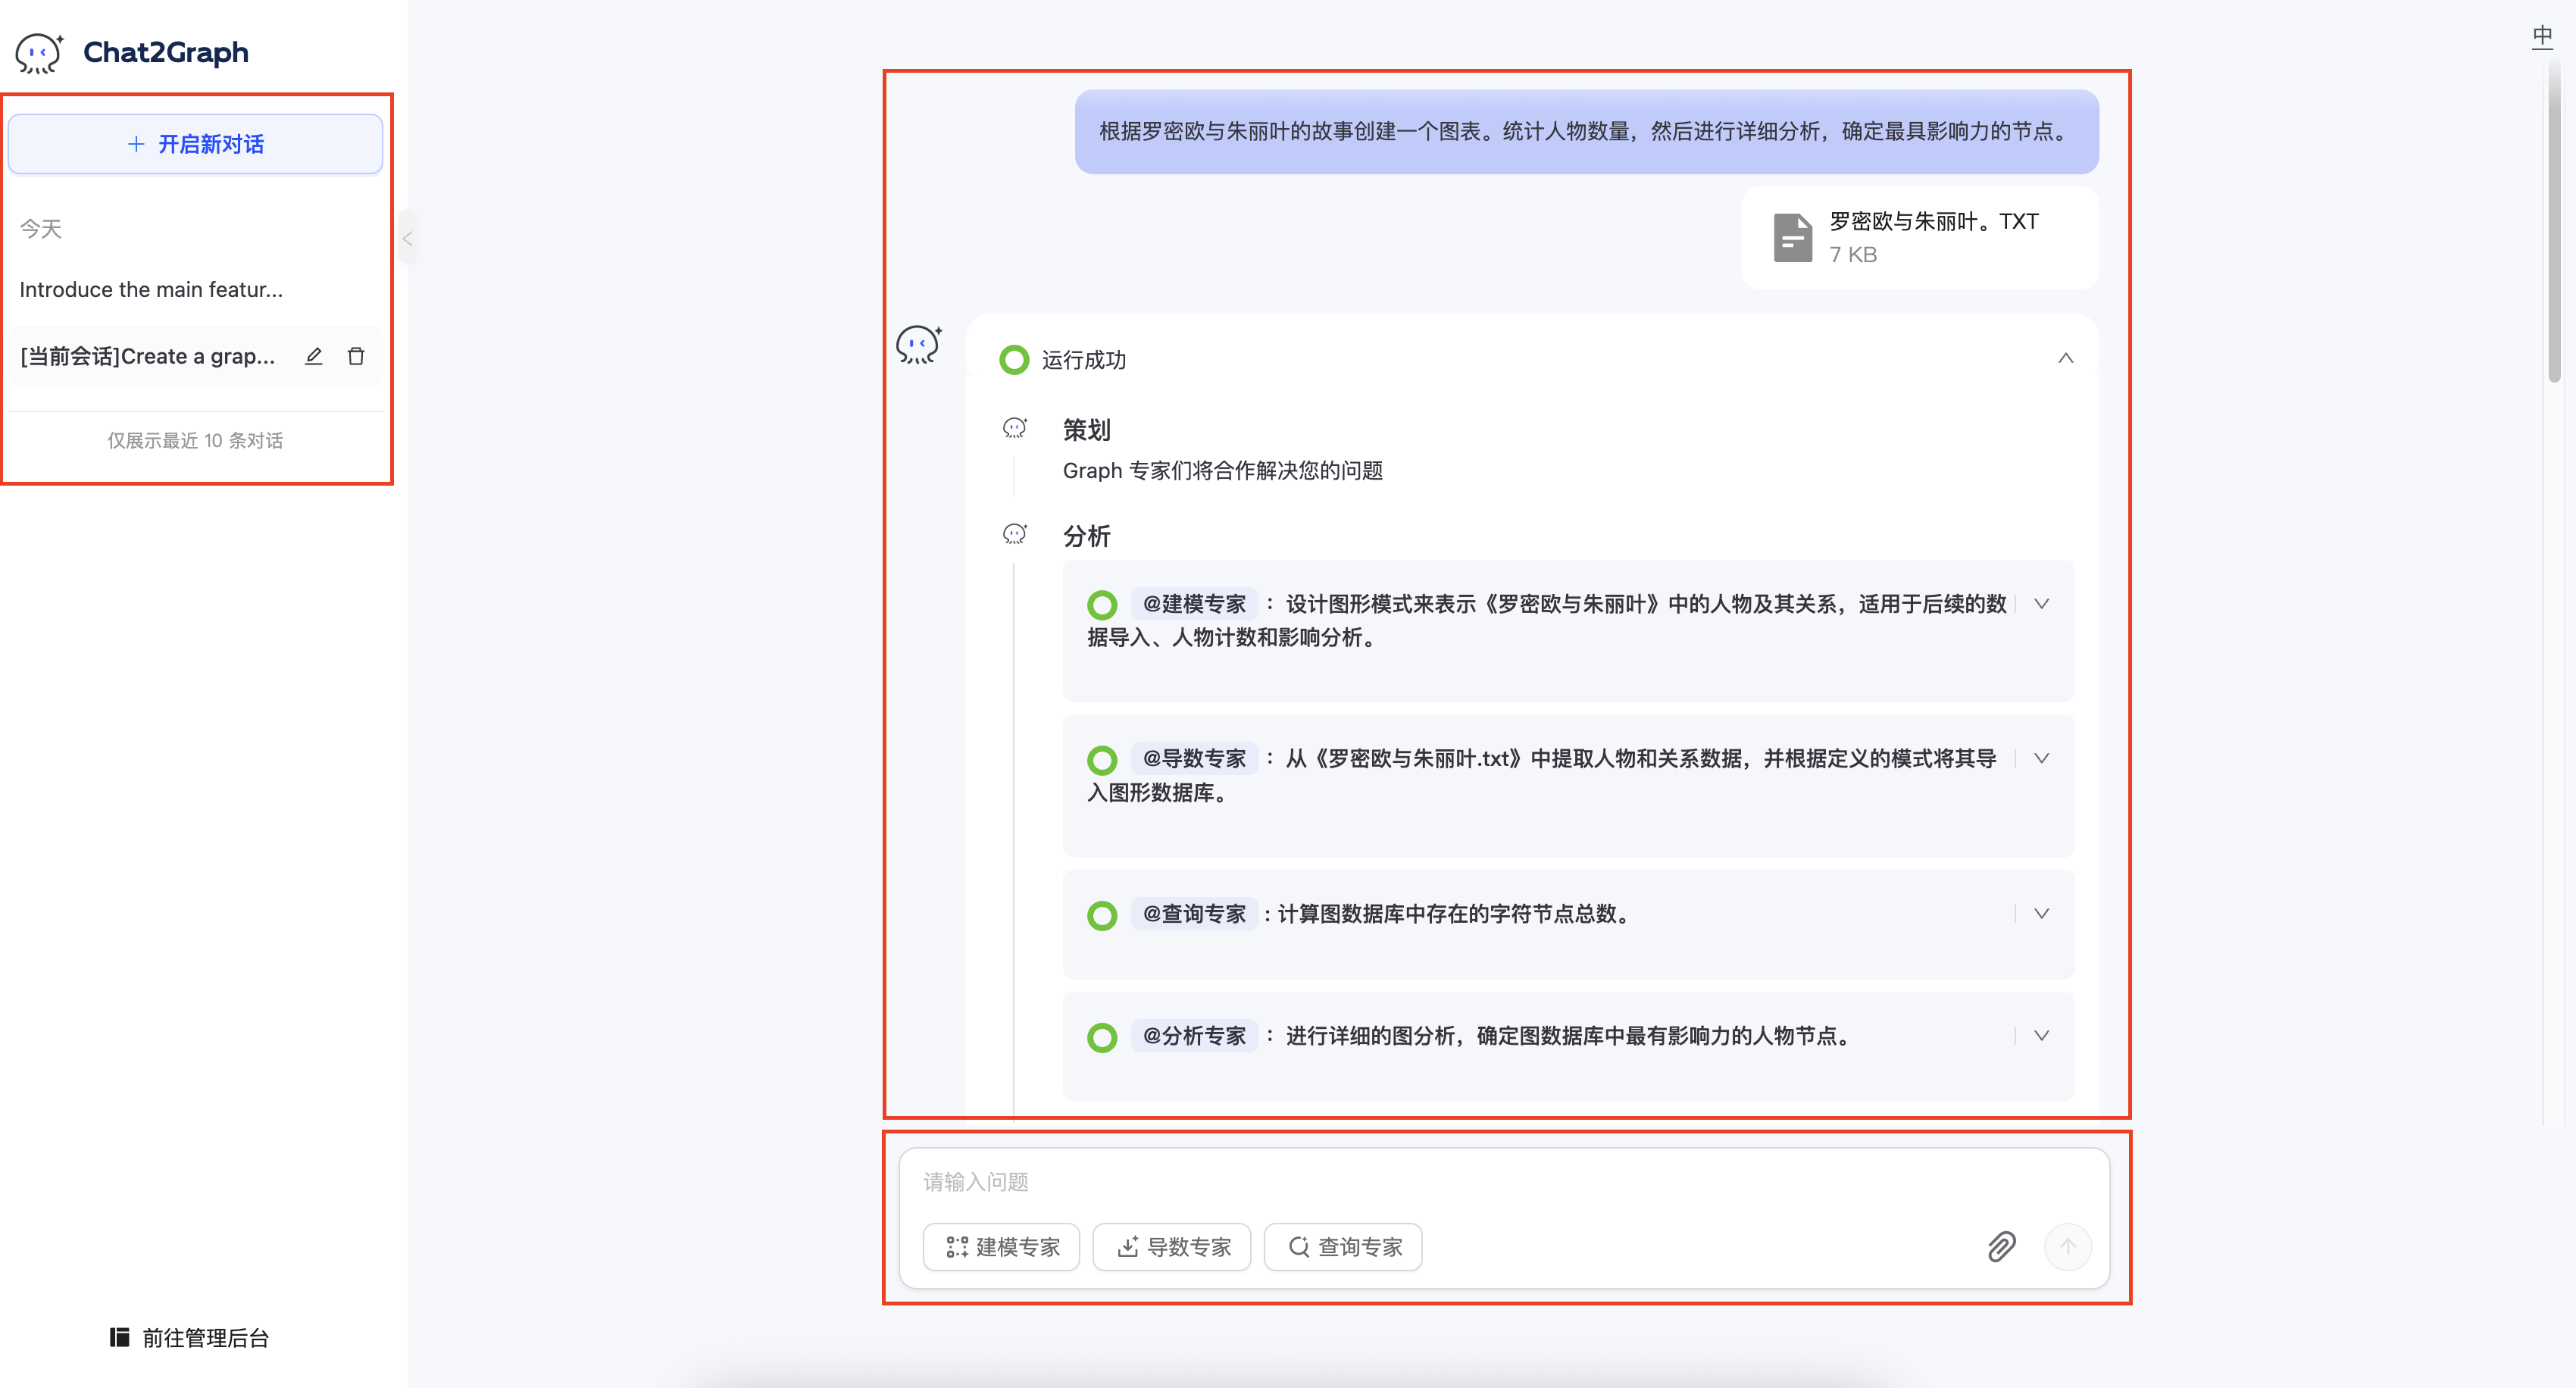
Automatically complete knowledge graph construction and analysis tasks:
Start a Neo4j instance:
```plain
docker pull neo4j:latest
docker run -d -p 7474:7474 -p 7687:7687 --name neo4j-server --env NEO4J_AUTH=none \
--env NEO4J_PLUGINS='["apoc", "graph-data-science"]' neo4j:latest
```
Start a TuGraph instance:
```latex
docker pull tugraph/tugraph-runtime-centos7:4.5.1
docker run -d -p 7070:7070 -p 7687:7687 -p 9090:9090 --name tugraph-server \
tugraph/tugraph-runtime-centos7:latest lgraph_server -d run --enable_plugin true
```
### Chat Easily with Graphs
Automatically complete knowledge graph construction and analysis tasks:
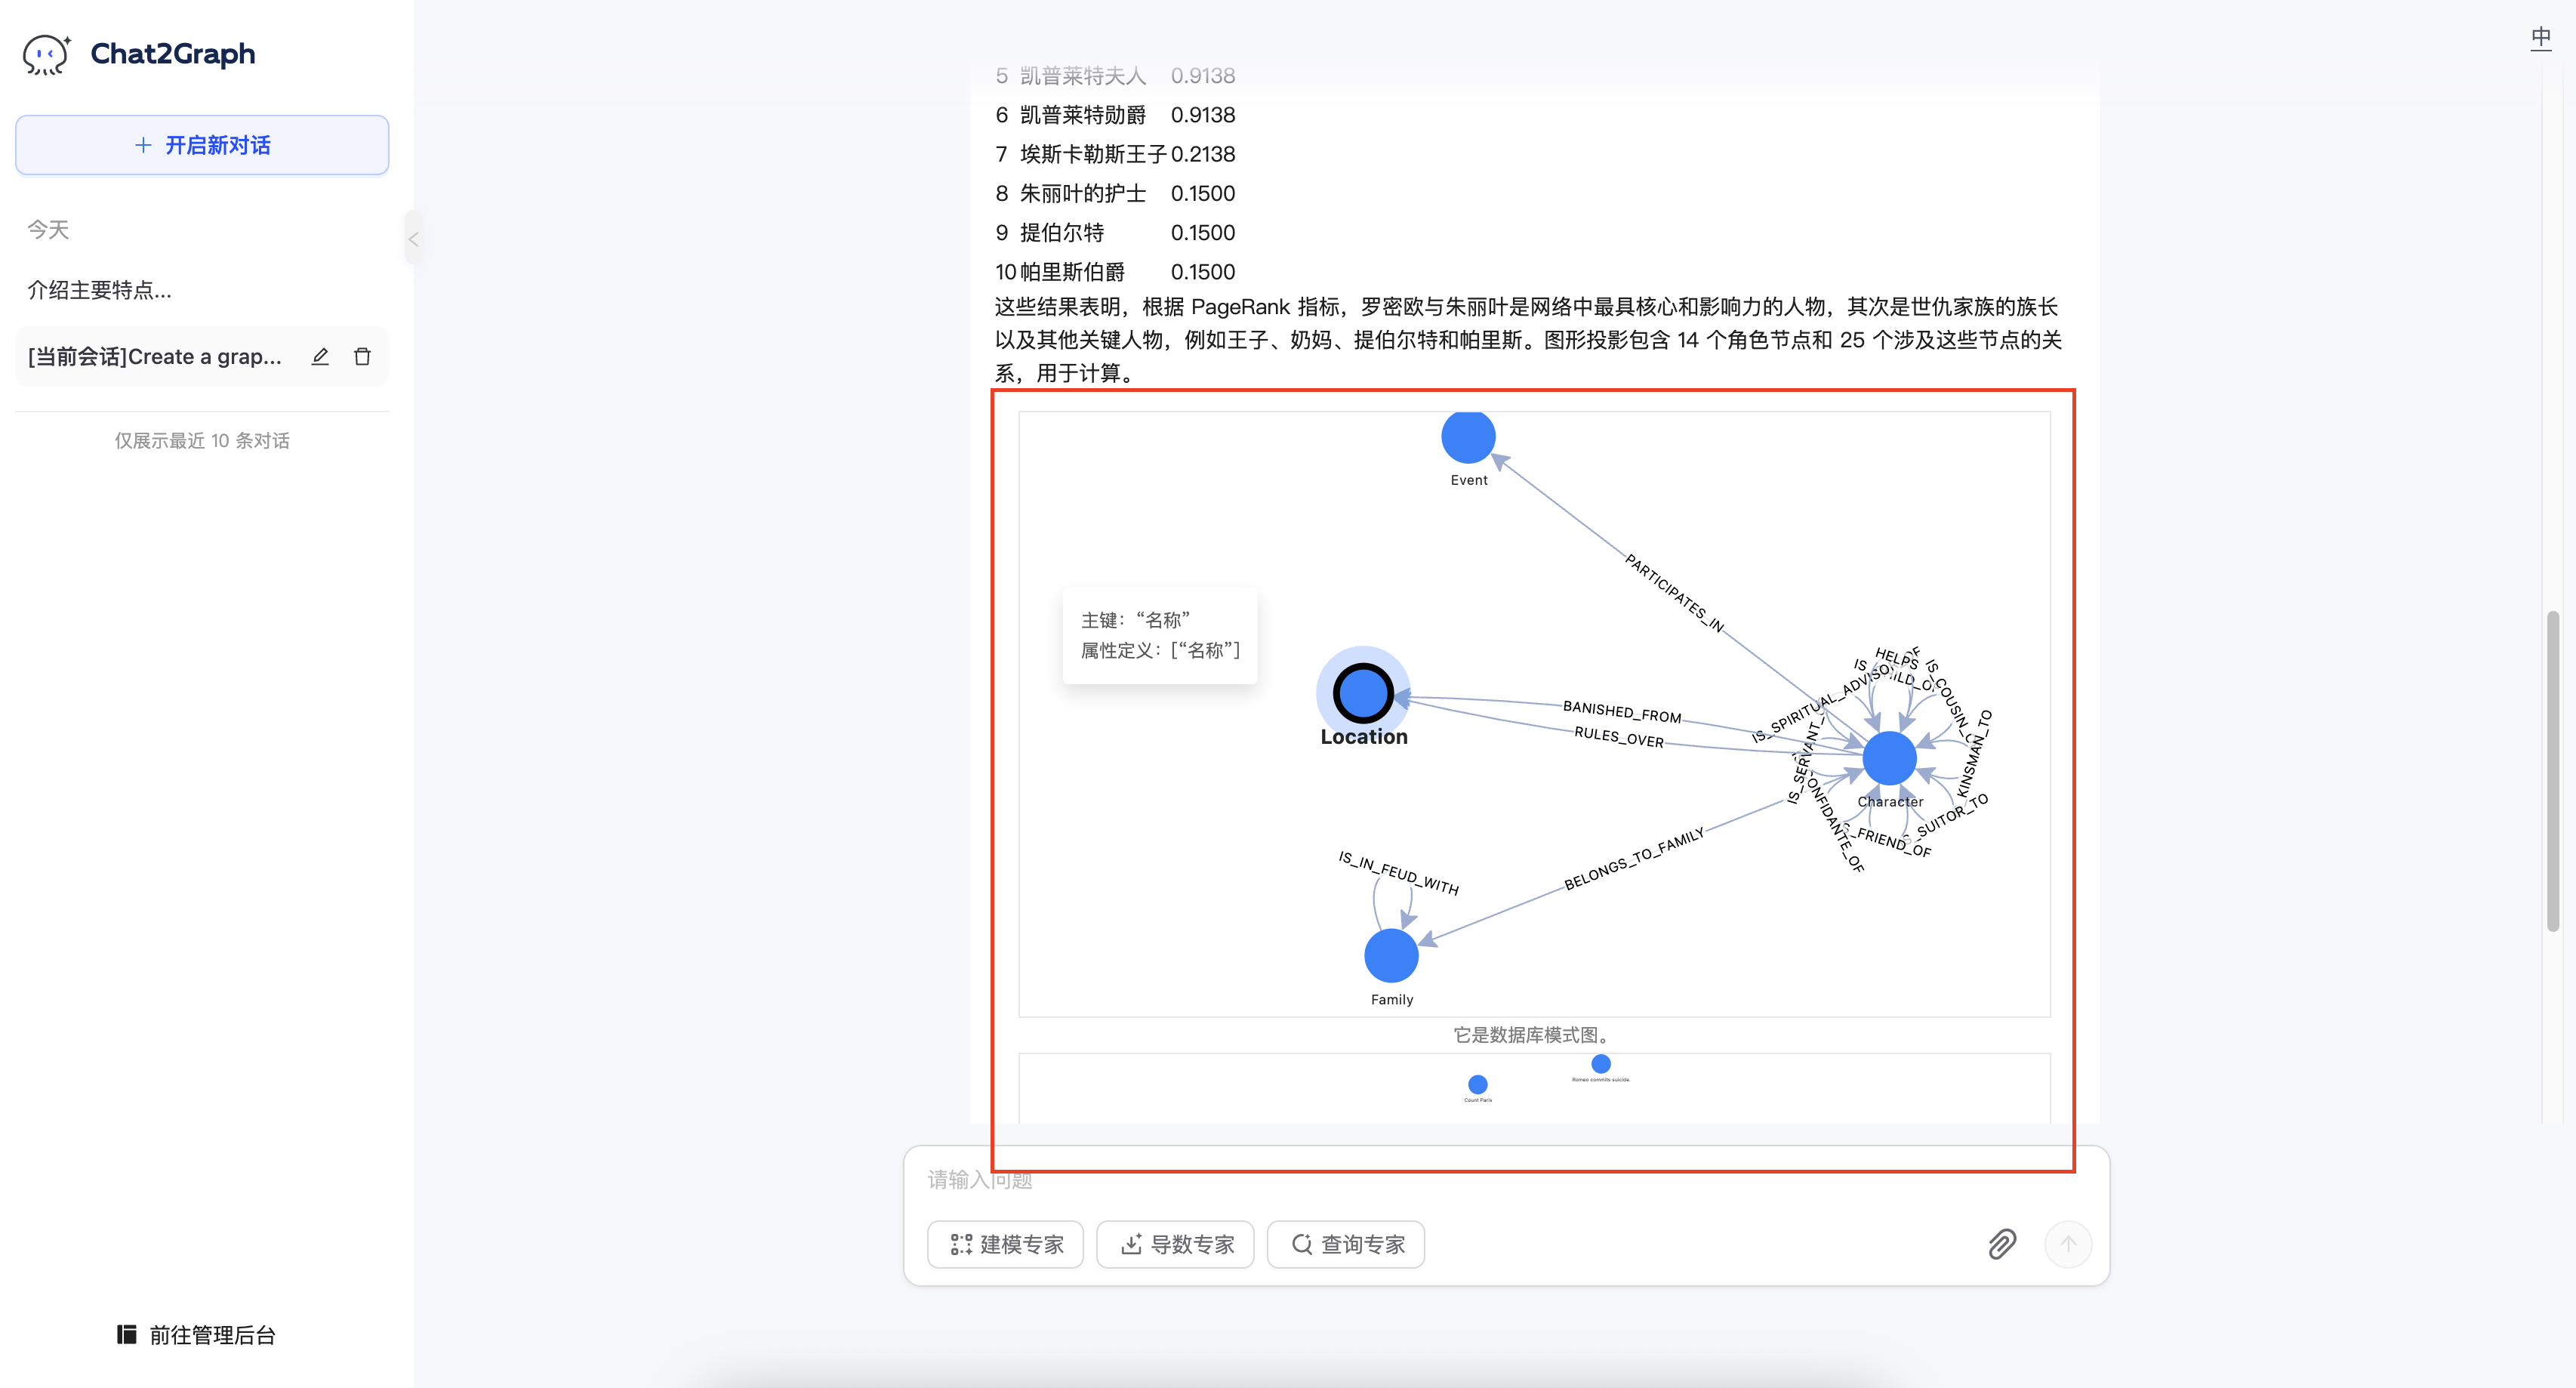
 Supports real-time rendering of graph models and graph data.
 ## Integrate Chat2Graph
Chat2Graph provides a clean and easy-to-use SDK API for customizing your own agentic systems.
Configure the SiliconFlow model:
```latex
SystemEnv.LLM_NAME="deepseek-ai/DeepSeek-V3"
SystemEnv.LLM_ENDPOINT="https://api.siliconflow.cn/v1"
SystemEnv.LLM_APIKEY="{your-siliconflow-api-key}"
```
Initialize the agent using a `chat2graph.yml` config file:
```latex
chat2graph = AgenticService.load("app/core/sdk/chat2graph.yml")
```
Synchronous agent call:
```latex
answer = chat2graph.execute("What is TuGraph ?").get_payload()
```
Asynchronous agent call:
```latex
job = chat2graph.session().submit("What is TuGraph ?")
answer = job.wait().get_payload()
```
## Integrate Chat2Graph
Chat2Graph provides a clean and easy-to-use SDK API for customizing your own agentic systems.
Configure the SiliconFlow model:
```latex
SystemEnv.LLM_NAME="deepseek-ai/DeepSeek-V3"
SystemEnv.LLM_ENDPOINT="https://api.siliconflow.cn/v1"
SystemEnv.LLM_APIKEY="{your-siliconflow-api-key}"
```
Initialize the agent using a `chat2graph.yml` config file:
```latex
chat2graph = AgenticService.load("app/core/sdk/chat2graph.yml")
```
Synchronous agent call:
```latex
answer = chat2graph.execute("What is TuGraph ?").get_payload()
```
Asynchronous agent call:
```latex
job = chat2graph.session().submit("What is TuGraph ?")
answer = job.wait().get_payload()
```